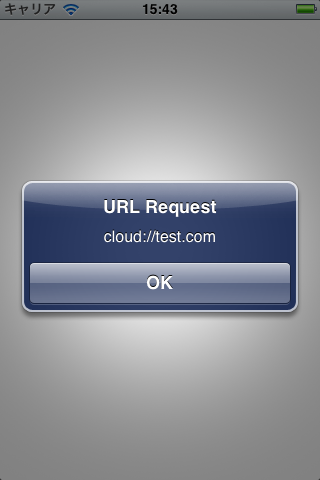
Cocoa学习

我的Cocoa/Cocoa Touch学习笔记

在Mac和iOS中注册自定义的URL Scheme

URL Scheme是类似http://ftp://afp://这样的东西,通常是用传输协议作为URL Scheme。不过事实上,你可以在iOS和Mac中注册任何类型的URL Scheme。当用户在浏览器中访问你的自定义URL Scheme的链接的时候,操作系统就会打开你的程序,响应这个请求。

要在程序中注册自定义URL Scheme非常简单。主要分为两个步骤:在程序的Info.plist中加入你需要注册的URL Scheme,然后在你的应用程序中加入处理这类请求的代码。

其中,第一个步骤对于iOS和Mac应用程序来说是完全相同的。方法如下:

Info.plist中,增加一个字段,名称为CFBundleURLTypes(URL Types)。Xcode会自动为你创建一个必须的键:URL Identifier(CFBundleURLName),这个键的值可以赋值为一个唯一的字符串。通常是逆向的域名结构,如:me.venj.myapp。然后在URL Types这个键下增加一个子项:CFBundleURLSchemes(URL Schemes),这里填入你想注册的URL Scheme的名称,如:cloud。你可以增加多个URL Scheme。

下面是一个示例的XML结构:

1
2
3
4
5
6
7
8
9
10
11
<key>CFBundleURLTypes</key>
<array>
    <dict>
        <key>CFBundleURLName</key>
        <string>me.venj.myapp</string>
        <key>CFBundleURLSchemes</key>
        <array>
            <string>cloud</string>
        </array>
    </dict>
</array>

这样,我们就可以在程序中处理请求了。下面我们来分别看一下iOS和Mac下的处理方法:

iOS:

在iOS中,我们可以在AppDelegate中加入一个方法,来处理这个请求。对于iOS 4.1或更早的系统,使用-application:handleOpenURL:方法,对于iOS 4.2以后的系统使用:-application:openURL:sourceApplication:annotation:方法。

下面是示例代码:

1
2
3
4
5
6
7
8
9
10
11
12
13
14
15
16
17
/* For iOS 4.1 and earlier */
- (BOOL)application:(UIApplication *)application handleOpenURL:(NSURL *)url {
    // Handle url request.
    UIAlertView *alert = [[UIAlertView alloc] initWithTitle:@"URL Request" message:[url absoluteString] delegate:nil cancelButtonTitle:@"OK" otherButtonTitles:nil];
    [alert show];

    return YES;
}

/* For iOS 4.2 and later */
- (BOOL)application:(UIApplication *)application openURL:(NSURL *)url sourceApplication:(NSString *)sourceApplication annotation:(id)annotation {
    // Handle url request.
    UIAlertView *alert = [[UIAlertView alloc] initWithTitle:@"URL Request" message:[url absoluteString] delegate:nil cancelButtonTitle:@"OK" otherButtonTitles:nil];
    [alert show];

    return YES;
}

我们的演示程序只是简单的显示了一个UIAlertView来响应请求。实际应该如何处理那就看需要了。

效果如下:

Mac:

Mac下处理自定义URL Scheme的请求稍有不同。我们首先要在-applicationDidFinishLaunching:方法中注册一下,并指定处理URL请求的方法。如下:

1
2
3
4
5
6
7
8
9
10
11
12
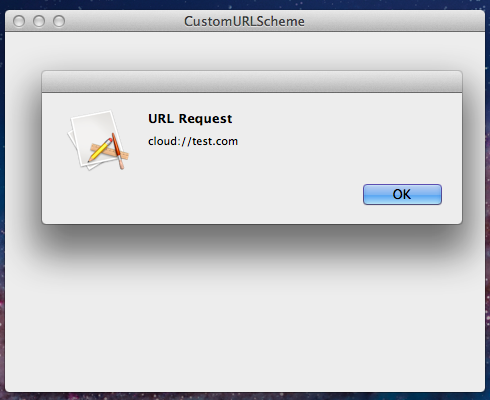
- (void)applicationDidFinishLaunching:(NSNotification *)aNotification
{
    // Insert code here to initialize your application
    [[NSAppleEventManager sharedAppleEventManager] setEventHandler:self andSelector:@selector(handleURLEvent:withReplyEvent:) forEventClass:kInternetEventClass andEventID:kAEGetURL];
}

- (void)handleURLEvent:(NSAppleEventDescriptor*)theEvent withReplyEvent:(NSAppleEventDescriptor*)replyEvent {
    // Process URL Request
    NSString* path = [[theEvent paramDescriptorForKeyword:keyDirectObject] stringValue];

    [[NSAlert alertWithMessageText:@"URL Request" defaultButton:@"OK" alternateButton:nil otherButton:nil informativeTextWithFormat:@"%@", path] runModal];
}

类似的,我们在示例程序中还是简单的用了一个NSAlert来展示我们成功捕获到了这个URL Scheme的请求。

效果如下:

好了,关于自定义URL Scheme就讲这么多,用起来很简单吧。

说明: - 本文的示例代码已经推送到了Github,你可以下载编译之后退出程序。然后打开Safari,在地址栏中输入: cloud://test.com,看看是不是自动转跳到示例程序,并看到了对话框。 - 本文参考了这里Apple的文档

(全文完)

Comments